
I know most of us have decided to eat healthier on account of the new year. While this is to be applauded, I also think a worthy goal would be to master pie crust and create comfort food’s queen for your family, chicken pot pie. The calories will be worth it on a cold evening. If you still are set to eat kale and spinach for the next couple of weeks, keep this in your back pocket for when your resolutions fail you and you are ready to awe and inspire in the kitchen with some butter. This is a couple of hours in the making, so not a quick recipe, but I promise I only post recipes that are a lot of work if the work is worth it. It is worth it here.
I made this when my gluten free husband was out of town. I had gotten tired of making pizza while he was on business trips and sometime between November and December before preparations for Christmas took over almost every second of my day, I made this for dinner for just me and my kids. I couldn’t stop eating it and complementing myself on a job well done, probably for at least one quarter of the pie. So, yes, only make this when you are willing to break a few rules and have exercised that day. This requires cooked chicken and is best with homemade broth, both of which can be done earlier in the day or the day before. You need to start with frozen butter, so get that in the freezer a couple of hours before you start.
First thing, you’ve got to make the pie crust.
I’ve made this pie crust for Thanksgiving and Christmas pies and it is what it claims: flaky, buttery and a good amount of work. It’s not hard, it’s just meticulous. If you pay attention and get the steps right, you will be rewarded with a masterpiece: crust that flakes and melts when it is supposed to, worth every buttery calorie that you consume.
This recipe is from Cindy Mushet’s, The Art & Soul of Baking from Sur La Table. (That is an affiliate link.) I recommend the book because it has great step by step instructions for everything from currant bread to soufflé with the reasons why you do the steps. You feel validated running butter back and forth from the fridge for your pie crust because your learn that hot oven plus cool butter equals flaky pie crust.
I’ve tried this recipe in the food processor and Kitchen-Aid. I like the Kitchen-Aid better because you can double the recipe and then either use the both crusts for a recipe or freeze one for later use. This recipe below is doubled from the book, so it is enough for two crusts.
2 sticks cold, unsalted butter, chopped into 12-16 pieces
6-8 tablespoons cold water
2 1/2 cups unbleached all-purpose flour
2 teaspoons sugar
1/2 teaspoon salt
Place the butter pieces on a plate or in a small bowl and freeze for a couple of hours.
Keep the water in a small cup in the fridge until needed. You have to keep the butter and water cool because that is how you get the flaky crust.
Mix the dough. Place the flour, sugar and salt in the mixer bowl of a stand-mixer. Mix for a few seconds on low until all the ingredients are mixed together. Now the fun part. Add your butter to the flour mixture. You are going to cut your butter into the flour mixture using the low speed and paddle attachment. Keep cutting until the mixture resembles “peas and crushed crackers.” There will be some flying around of bits of butter and flour as the paddle works through the frozen butter.

Now you are ready to add the water. You want to add the first 6 tablespoons about one tablespoon at a time while the paddle is turning on low. You want to have enough water so that the dough sticks together but too much water will cause the crust to shrink while baking. After the first 6 tablespoons of water have been added, test the dough. Take a handful of the dough and squeeze firmly. If the clumps fall apart and looks dry then you need to add more water. Add water just one teaspoon at a time until the dough holds together when squeezed. This takes time to get right, don’t go crazy and start dumping in water, you will wreck the dough and once there is too much water you have to start all over again. Just be patient squeezing dough and adding water and it will come together.
This is what my shaggy clumps looked like. The dough is ready when it holds together and only a few pieces fall off when squeezed. Once the dough is done, turn the dough onto a countertop and knead gently a few times. If you are kneading and the dough won’t stay together, return it to the bowl and add a bit more water just one teaspoon at a time. Divide the dough into two equal portions then flatten the dough into a 6-7 inch disk. Wrap in plastic wrap and refrigerate for 30 minutes so the dough can hydrate.

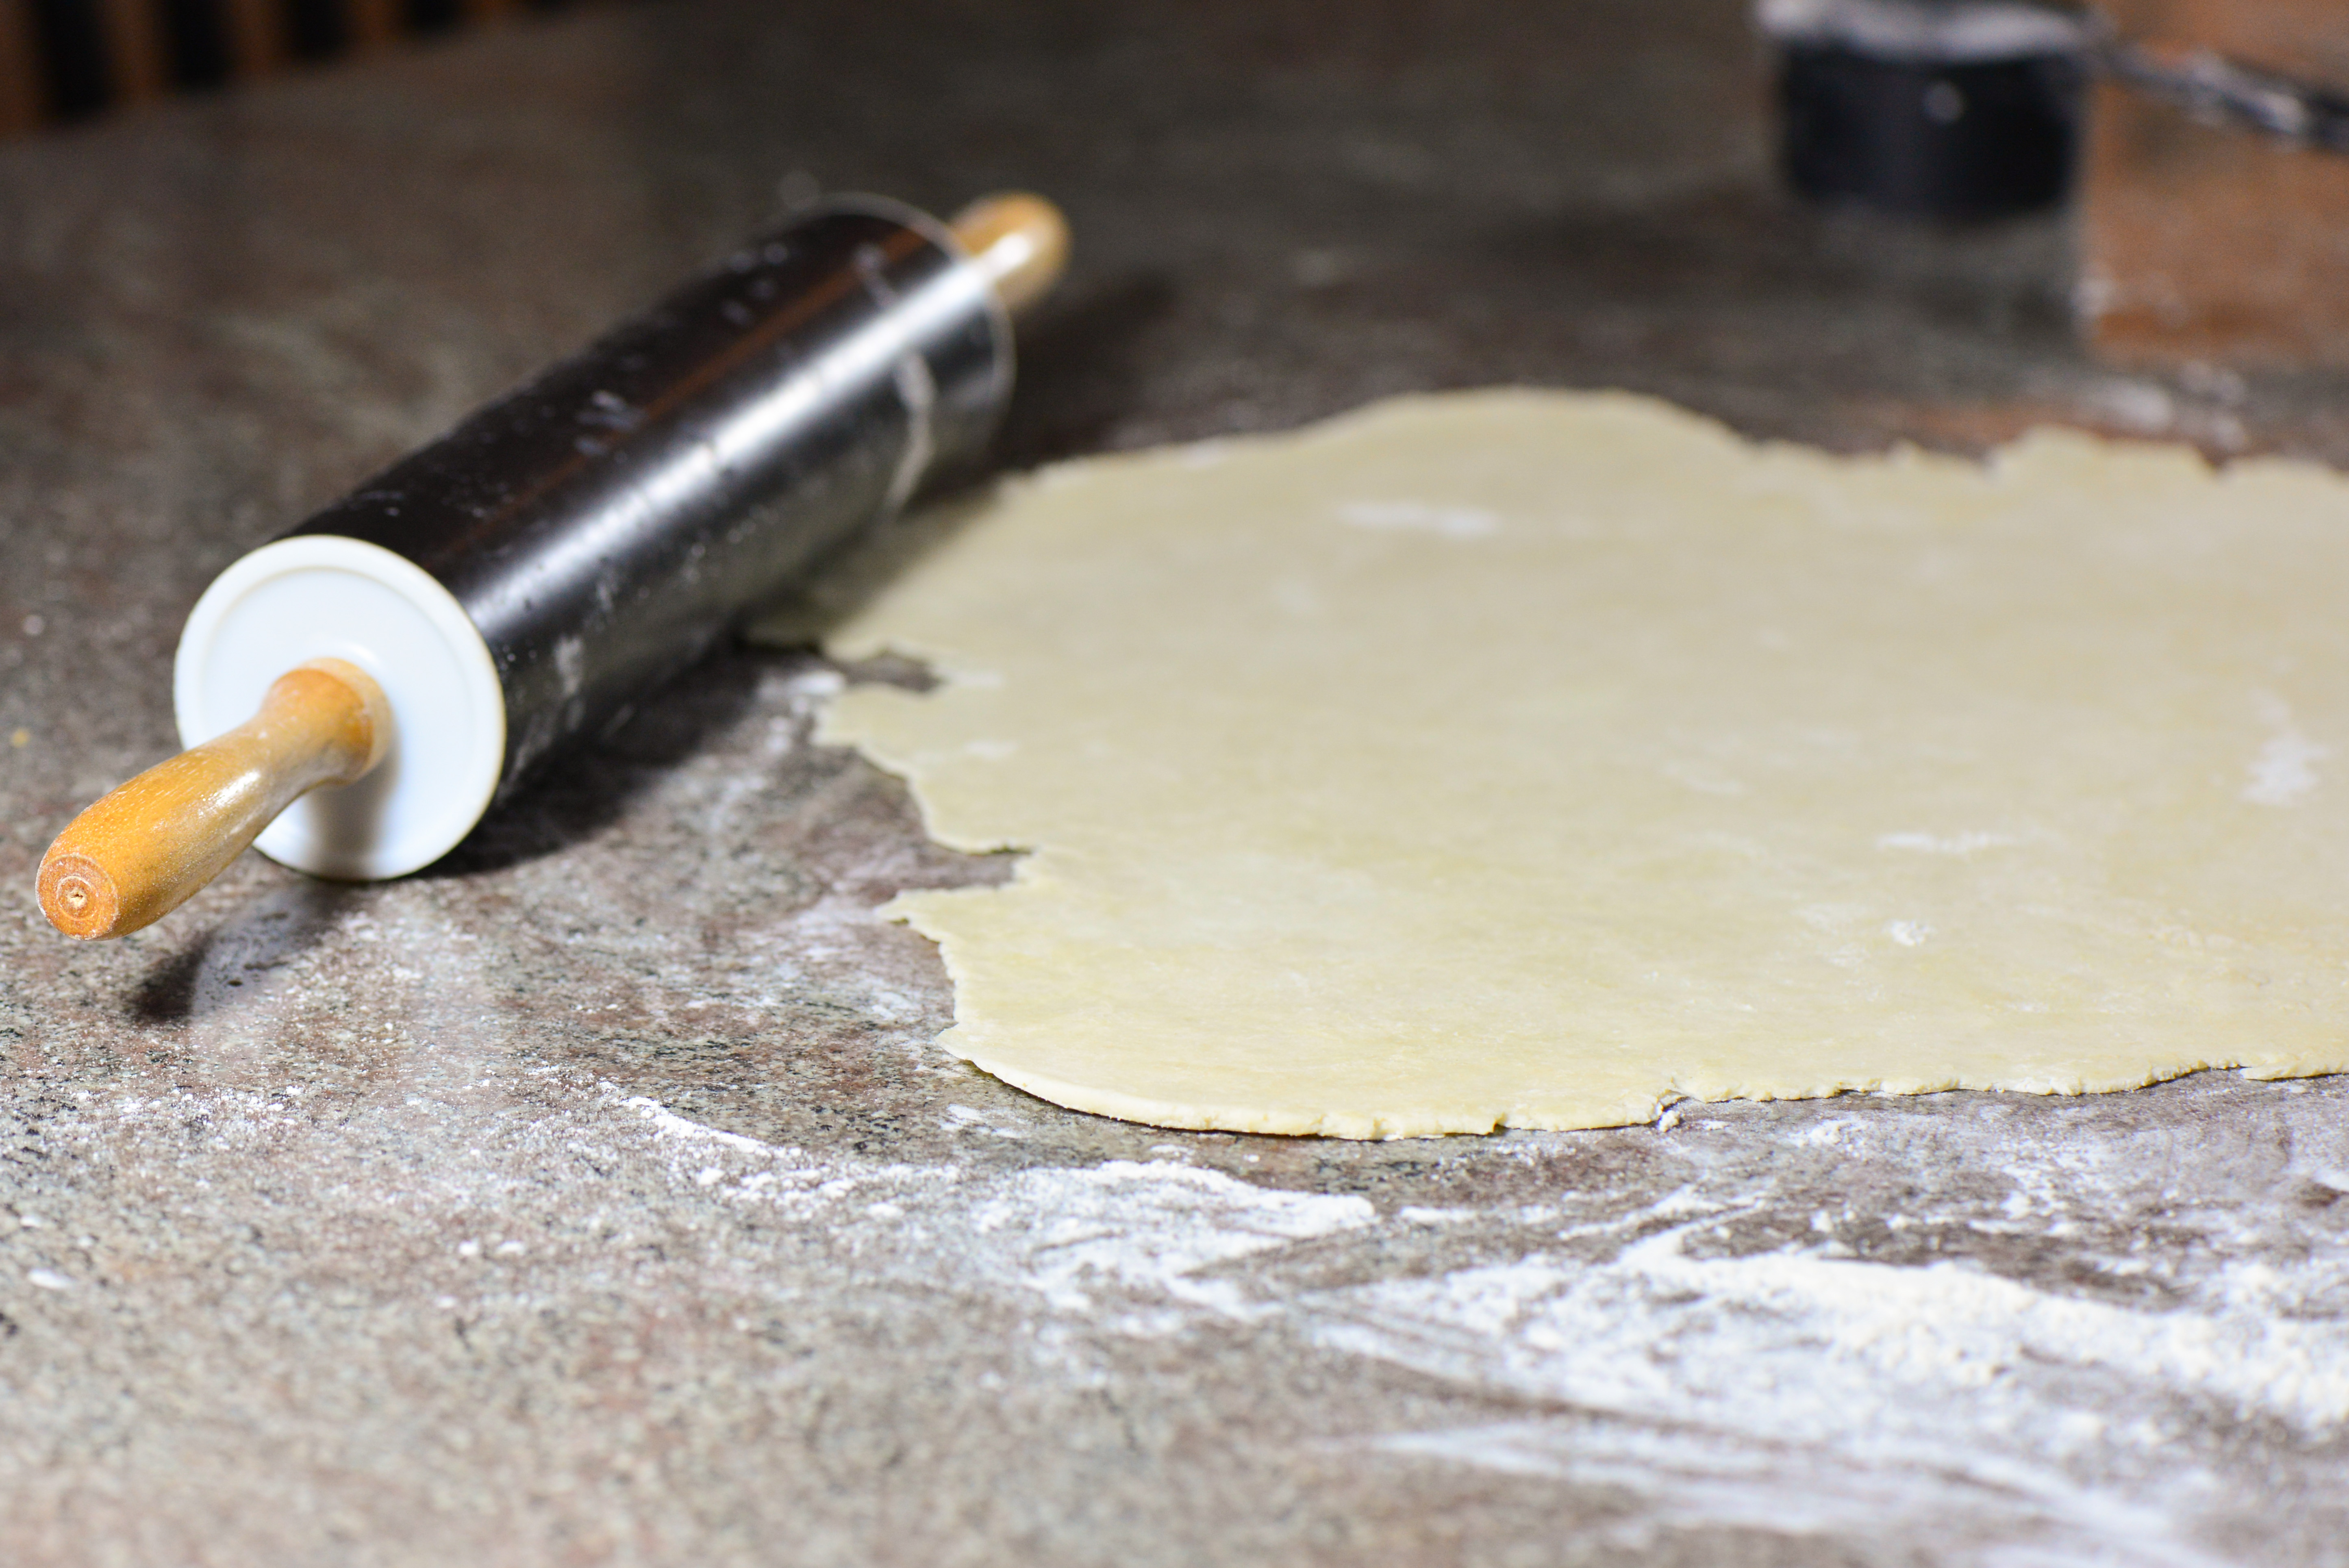
Now you are ready to roll the dough. Dust your counter with flour, be generous. Set the disk on the flour and dust the top of the disk with flour. Roll until you have a 14-15 inch circle about 1/8 inch thick. Repeat with the second disk.
Fold the first crust into quarters and transfer into a pie pan and unfold. Keep the second on a baking sheet between two sheets of parchment paper. Put the crusts in the fridge and chill for 30 minutes while you get the insides ready.
For the Filling:
3/4 stick unsalted butter
1 cup diced onion
1/2 cup diced celery
6 tablespoons unbleached all-purpose flour
4 cups homemade chicken stock or canned low-sodium chicken broth
1/2 cup peeled and diced carrot
1 tablespoon olive oil
10 ounces diced mushroom
1 cup cooked chicken meat, diced
1 cup frozen peas
1 tablespoon snipped fresh chives
1 1/2 tablespoon finely chipped parsley
1 1/2 teaspoons finely chopped fresh thyme, or 1/3 teaspoon dried thyme
Salt
Black Pepper
1 large egg yolk
2 tablespoons milk
Melt the butter over medium heat in a saucepan. Add the onion and celery and cook stirring occasionally until the vegetables are softened, about 5-7 minutes. When the vegetables are ready, remove the pan from the heat and whisk in the flour. Keep whisking and return to the heat and cook for 2-3 minutes being careful not to let the flour brown. Remove the pan from the heat and add 1 cup of the stock while continue to whisk until the mixture is smooth. Keep whisking and get all the lumps out because this is your only chance to make your filling lump-free. Whisk in the remaining chicken stock. Return the pan to the heat and bring to a boil, whisking frequently. Add the carrots, then reduce the heat to a simmer and simmer for five minutes. Remove the pan from the heat.
Now take a large bowl and fill it half-way with ice and water. You are going to use this large bowl to cool down the insides of the pie so that the butter in the crust won’t melt when the filling and crust come together.
Heat the olive oil in a sauté pan over medium-high heat. Add the mushrooms and cook for 6-8 minutes until they are golden brown, stirring every couple of minutes. Add the mushrooms to the filling with the chicken, peas, chives, parsley and thyme. Season to taste with salt and pepper.
Now set your pan over the bowl of ice and water. Stir the filling occasionally until the filling is cool.
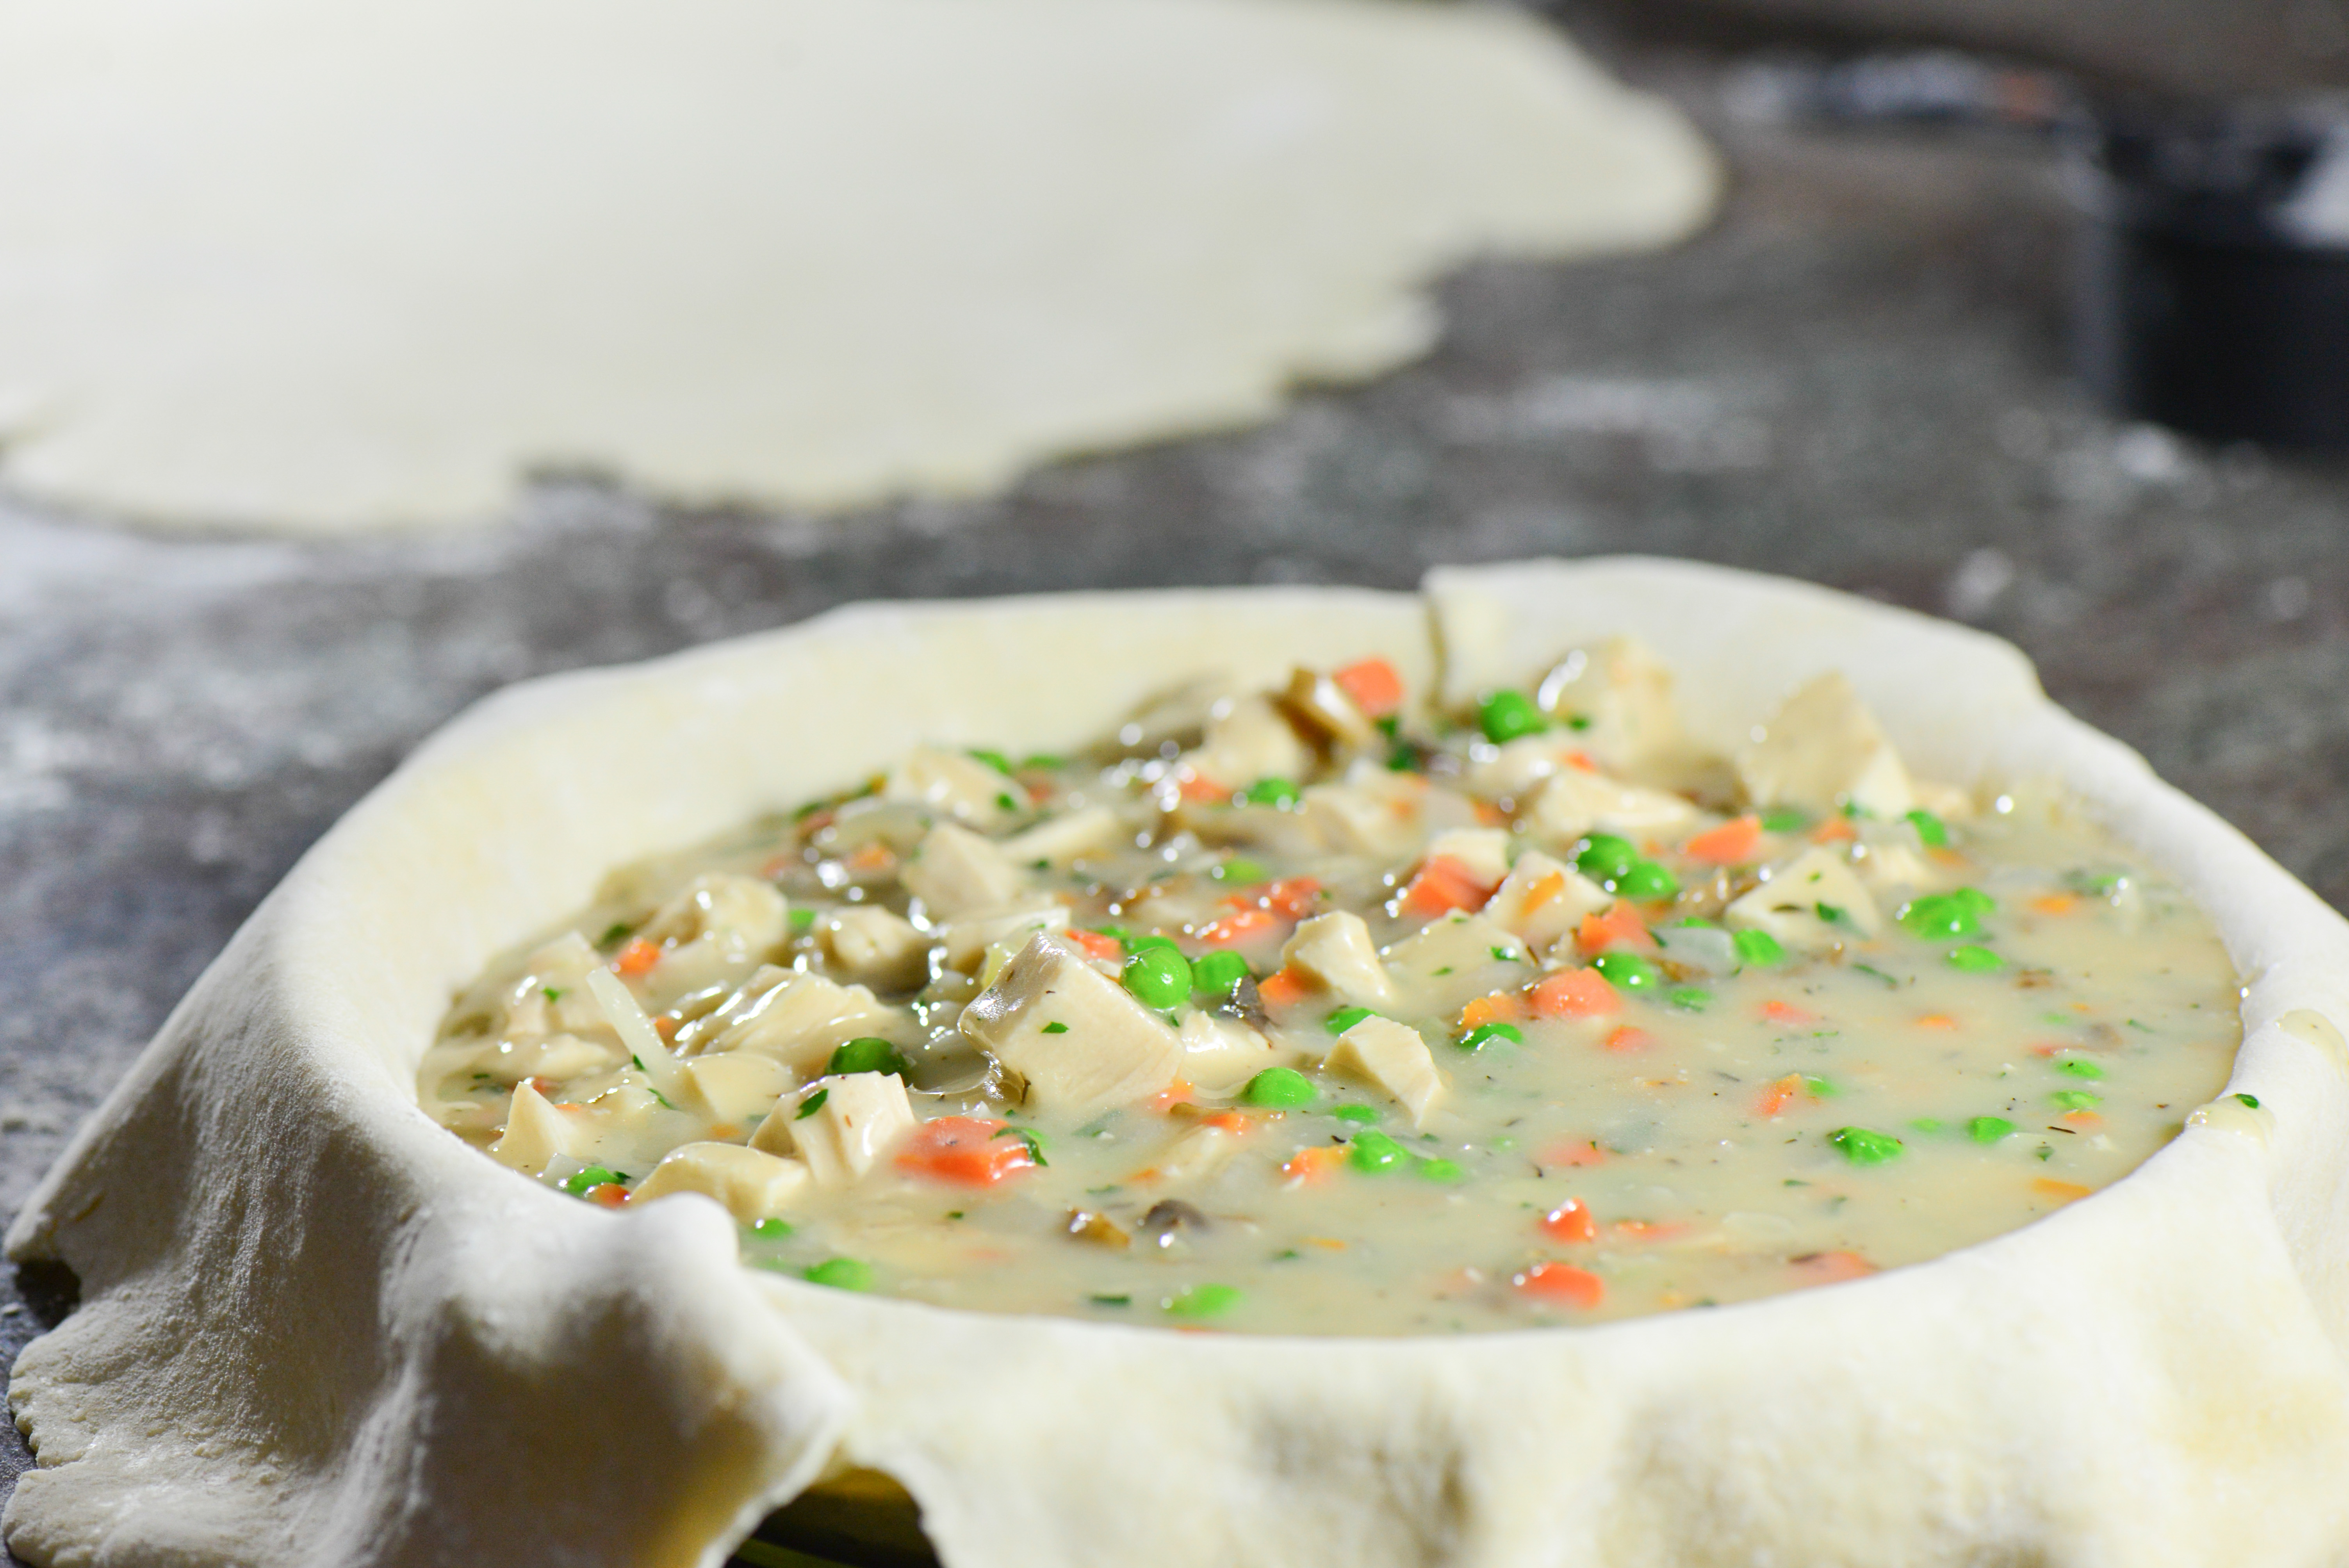
Get your pie crusts out of the fridge. Pour the filling into the crust in the pie pan.
Preheat the oven to 375 degrees. Position a rack in the center of your oven. Brush the edge of the pie with a thin film of water. Transfer your second crust onto the top of the pie and then trim both the top and bottom crust so there is about one inch of over hang on both. Roll the edges together to form a thick rope around the edge of the pan, then crimp it using the first two fingers of your right hand and a knuckle on your left hand. Press firmly to form a pattern.
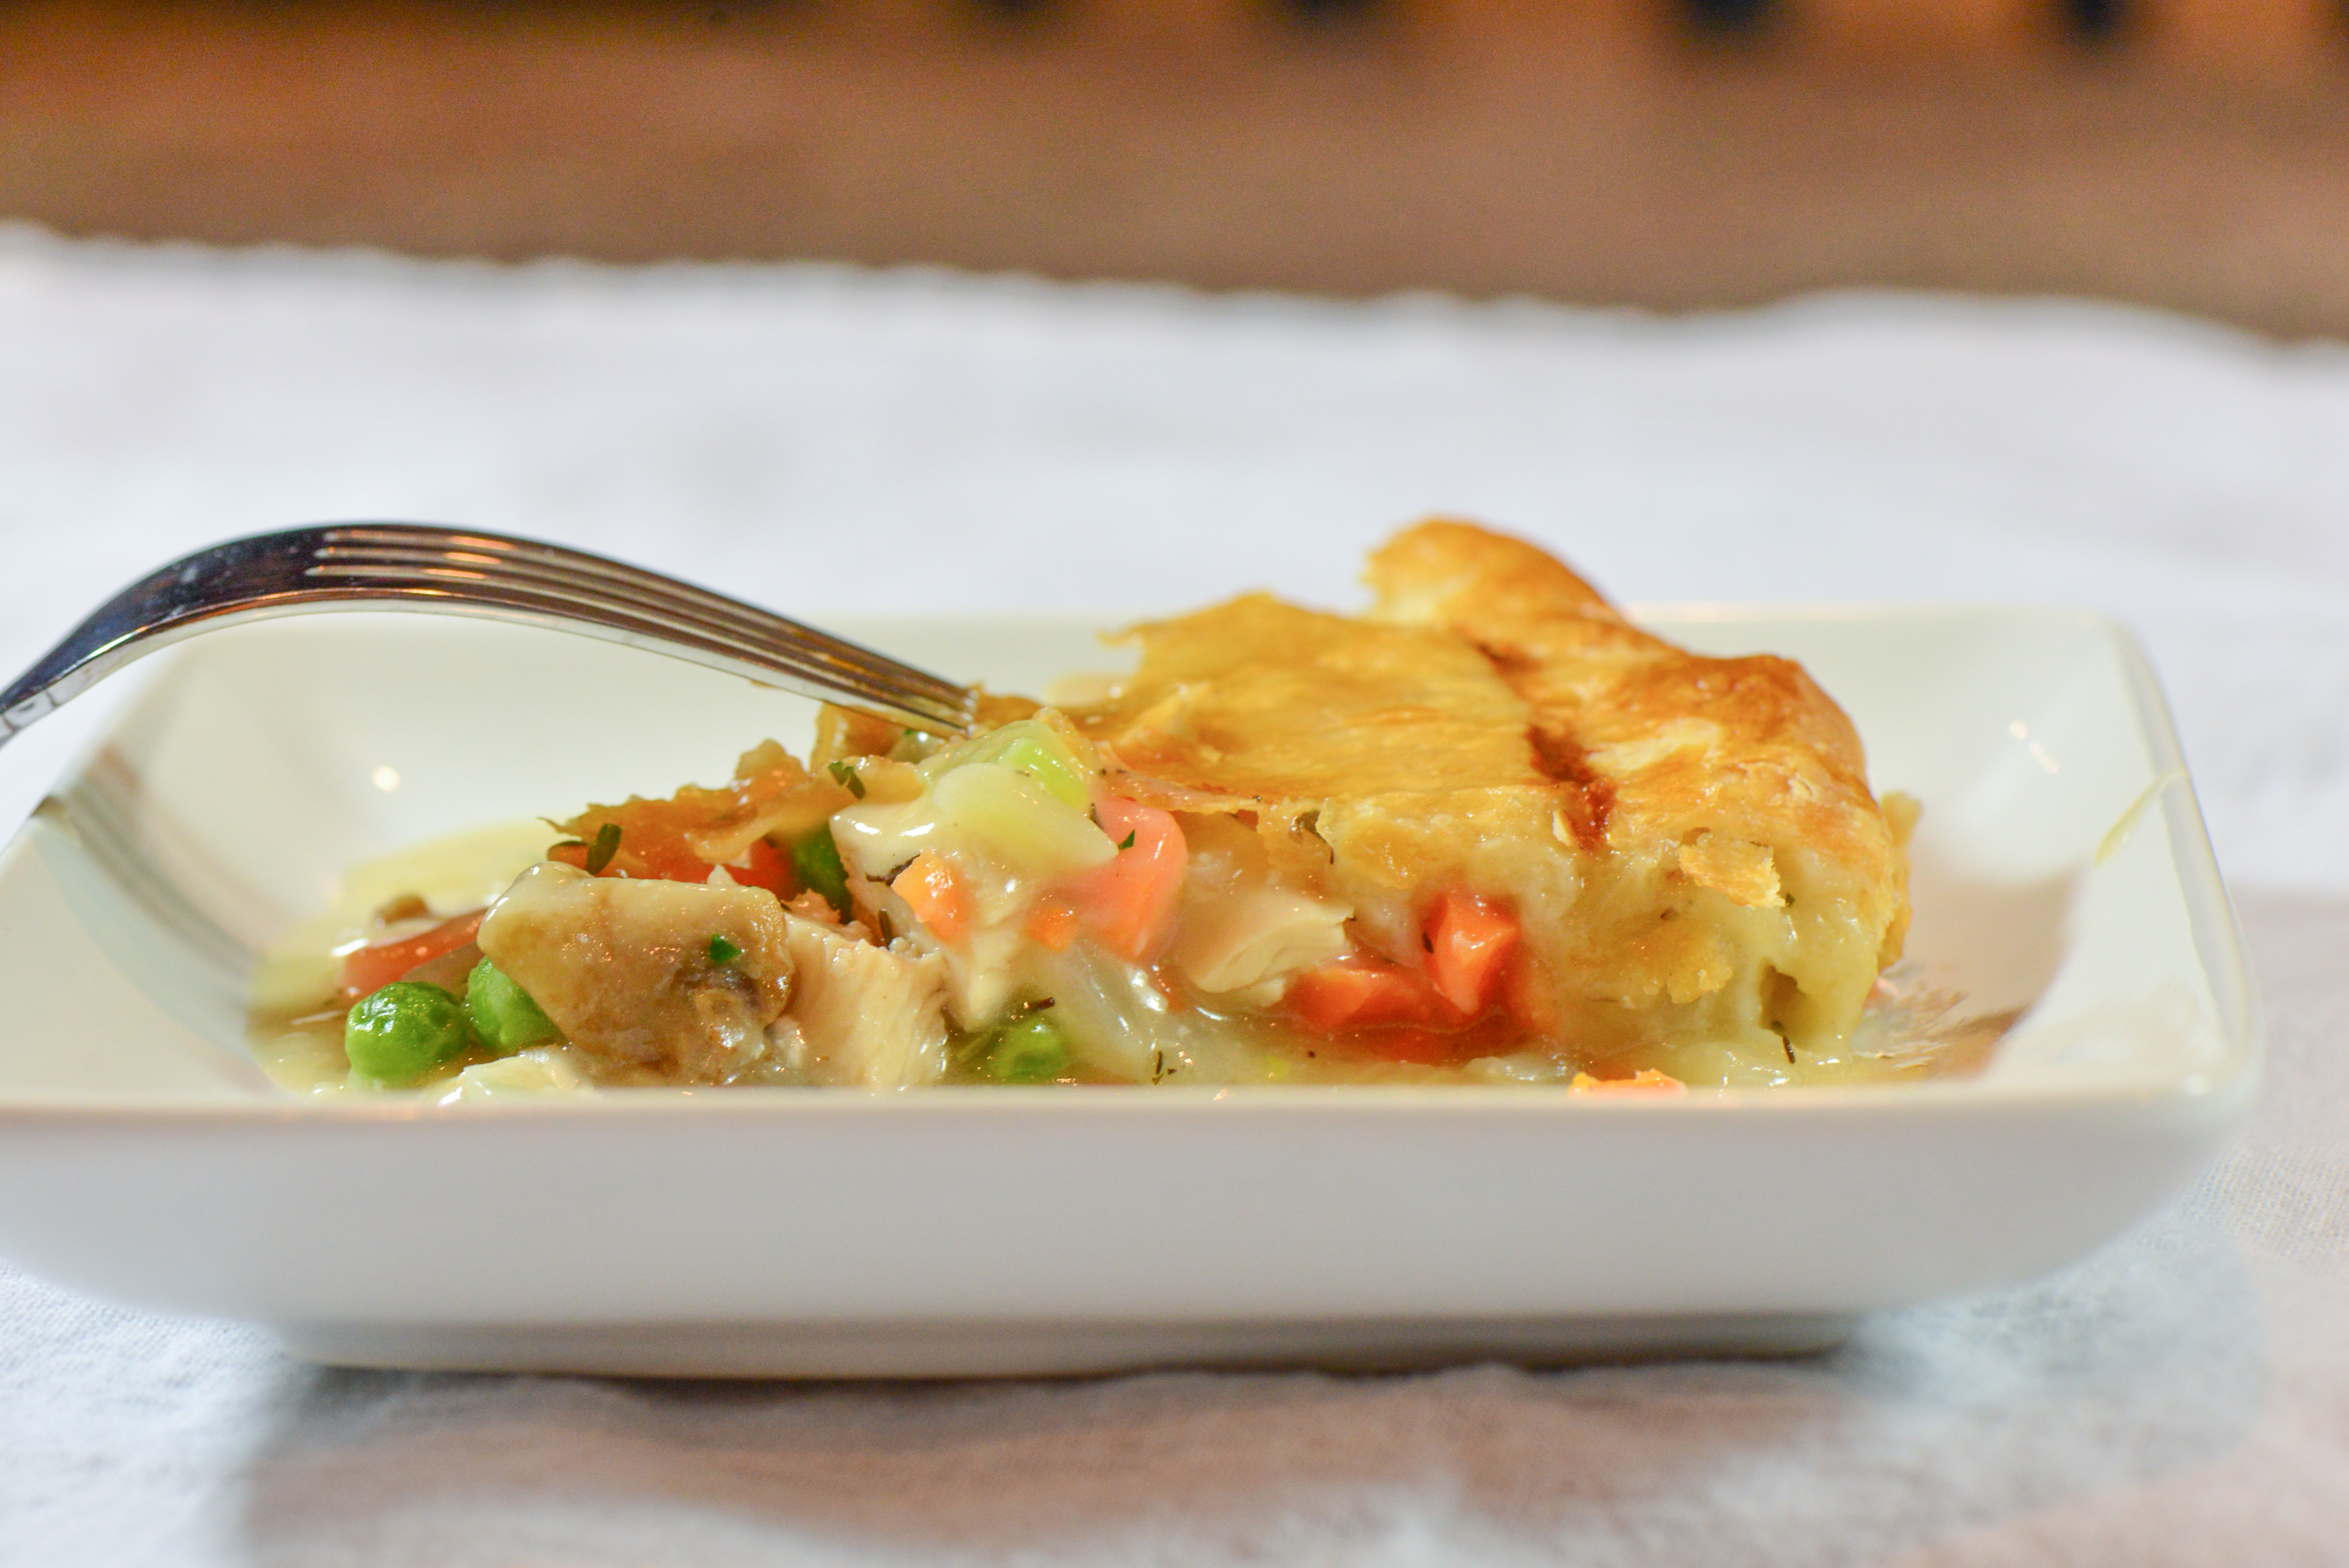
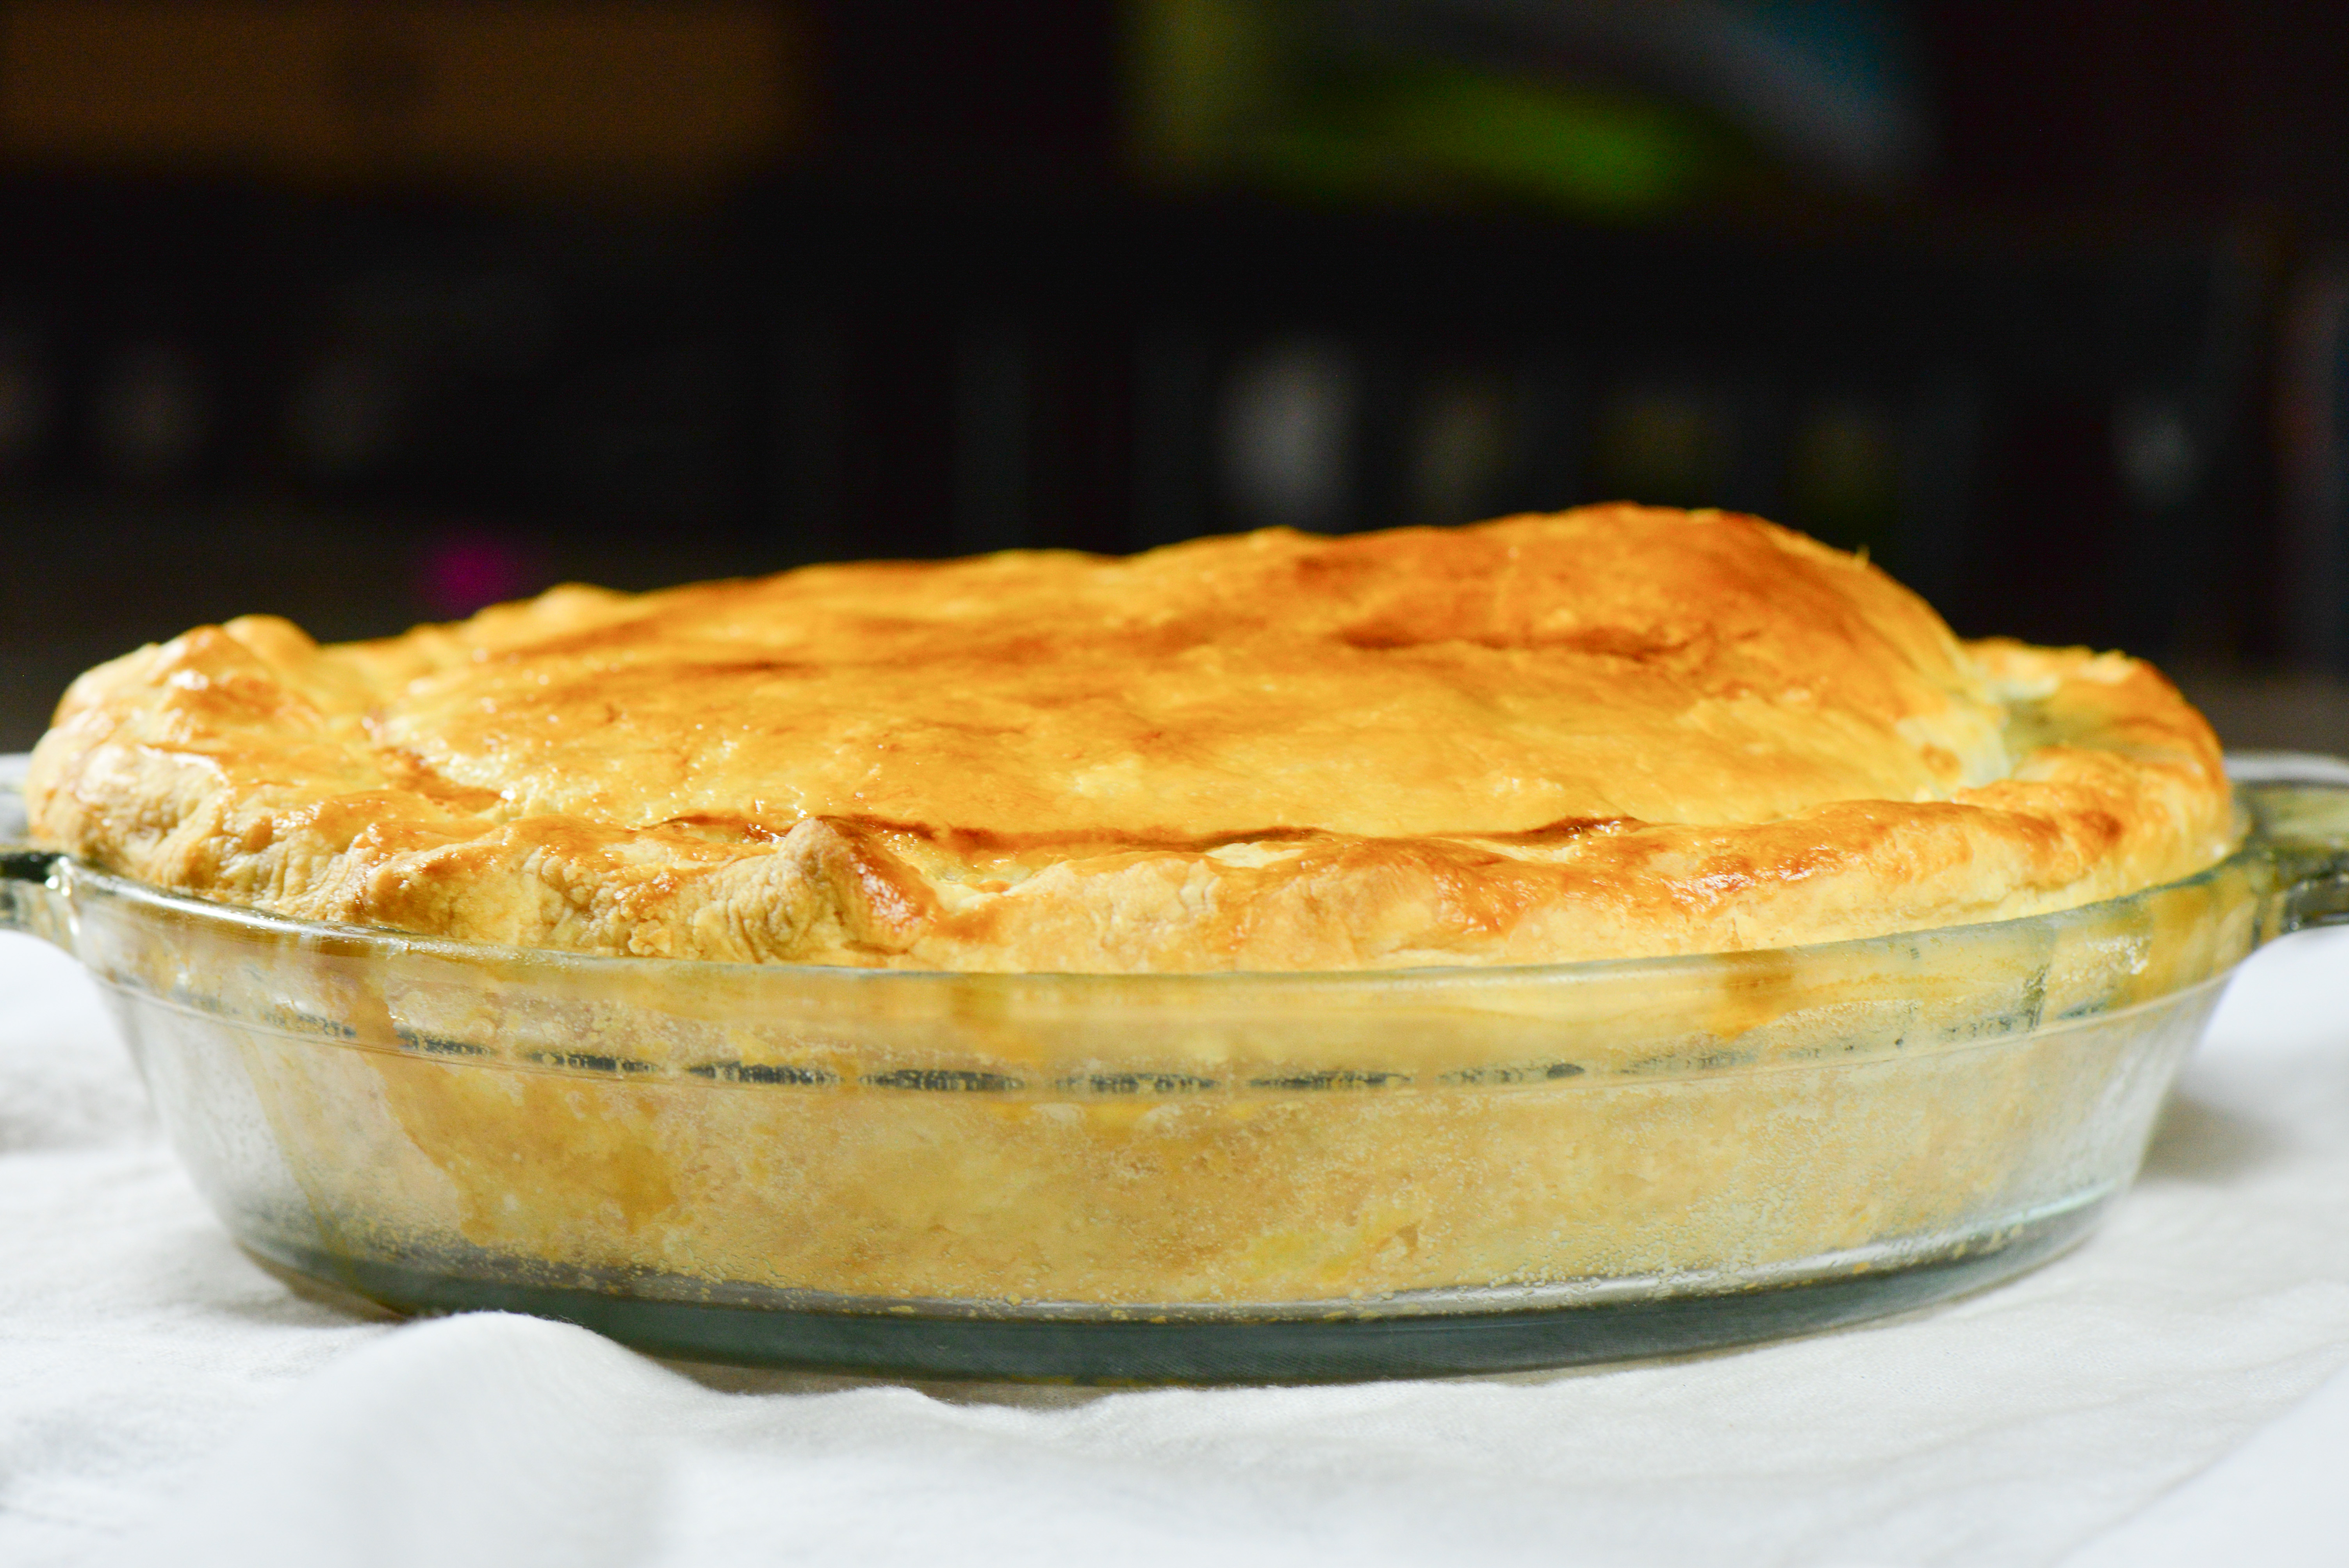
Bake for 40-45 minutes until the filling is bubbling and the crust is golden brown and crisp. Transfer to a cooling rack and let cool for 15 to 20 minutes. Serve hot. Be so proud of your flaky crust and colorful filling!